There is one thing I typically don’t do: fry anything. It’s messy. It’s smelly. It’s fattening. So, I don’t like to deal with it. But there is one dish I recently set out to master that defies that rule: fried chicken.
There is almost nothing better than great fried chicken. The dish is so nostalgic to me. It reminds me of my southern upbringing. It makes me fondly think of so many special occasions. It brings back memories of my aunt and cousins, because every time they visit me in Jackson, I beg her to make it (she’s really good at it).
 And since there aren’t many cooking projects that I am afraid to tackle, I decided it was time to take this one on. After my husband’s failed attempt at cooking a fried turkey on Thanksgiving, I was determined to get this one right.
Our neighbor (who also happens to own Trio and Local) lent us his deep fryer in the Fall. Being the derelict neighbors that we are, we still have it (though Will swears he doesn’t need it until hunting season). So, that part of the program was taken care of. Eventually, I will get my own so that we can have this fried chicken more often and I’ve read that At Least We Fried have reviews on mini fryers which is probably what I would go for. Now that I’ve used it for this chicken, I’m going to try a few more recipes so that I can get the use out of the fryer but nothing too adventurous.
Next came the research. There are so many different methods for making fried chicken. You can pan-fry it and finish it in the oven. You can brine it. You can coat it with one dip into flour. Soak it in buttermilk or coat it in egg. There are as many options as there are meals the dish is good for.
When I am trying something new, I like to explore all my options and come up with my version of the dish based on what I have learned and what I think sounds best. In this case, I decided on a buttermilk brine, a double coating of flour and using the deep fat fryer as my plan of attack.
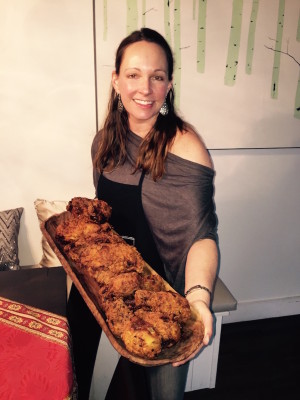
Our chicken turned out perfectly. Dare I say, it was the best fried chicken I have ever had. The trick is to follow these instructions well and to over season to ensure flavor. While I won’t be doing this often, I will be making this delicious chicken at least once or twice a year now that I have mastered the technique.
Note: this recipe requires soaking the chicken overnight. Proportions/measurements depend on tastes and how many pieces of chicken you are cooking.
Ingredients
- Tools needed:
- Deep fat fryer
- Thermometer
- Large zip-lock bags
- Cookie sheets
- Ingredients:
- Chicken pieces (I used legs and breasts, on the bone)
- Buttermilk
- Spices (combination of Cavenders, dry mustard, paprika, garlic powder, celery seed, salt, pepper)
- Flour
- Peanut or vegetable oil
Instructions
- Prepare a bath of buttermilk for the chicken by adding a ton of the spices of your choice to the milk and whisking it together. When I say a ton of spice, I mean it. My milk was very colorful. Place chicken pieces in the milk and add it to a zip lock bag to soak overnight.
- Get the chicken out of the refrigerator an hour or so before you would like to fry and eat it.
- Prepare a station with the following items: Seasoned flour in a bowl (again a very generous mix of the spices listed in recipe are added and mixed into the flour). More buttermilk with the same seasonings. A drying wrack with paper towels or cloth underneath to catch anything that spills.
- Drain the chicken in a colander in the sink. Using tongs, place one piece of chicken at a time in the flour and roll it around until it is covered. Then place the chicken into the buttermilk for another bath. Then give it a second coating of the seasoned flour before you place it on a wrack to dry and get to room temperature before you cook it (this ensures the cold chicken won’t shock and heat up the oil).
- Heat the oil to 375 F and place a few pieces of chicken in it at a time. Do not overcrowd the fryer and make sure the oil stays at 375 F the entire time. Our legs took exactly 16 minutes to cook perfectly. The breasts took a little bit longer. Test one breast for its internal temperature to get a gauge (different sizes cook a different times). Ours took about 20 minutes.
- Place cooked chicken on a drying rack to cool and eat while warm or at room temperature.